ui-builder
To run the demo you will need to use Firefox or Chrome and have a couple browser flags enabled for WASM and PTHREADS.
Start by running the online demo located at https://brianotto.github.io/ui-builder/web/
So let’s build a simple video player …
First we want to add a row to place our video in.
add row
This will create a <div> that acts as our first row. Since rows are normally not visible in our layout, the app adds a dotted border around it so that you can see what you’ve added to the canvas. The app also gives it an ID, so that you don’t need to think about names while your building the UI. This can always be changed later or it can be specified by providing a parameter to the row, e.g. add row myId
Now let’s add a second row for our video’s controls.
add row
Oops! You can’t add a row inside of another row until you’ve added a column, and so an error is displayed. Also, we want the row to be below this one, not inside it. Any time you add an element to the page it will automatically get selected, and so what we need to do is select the top level canvas first.
get canvas
add row
Now before we can add any content to it, we will need to add a column. However, we want to think about where the controls should be displayed. For our purposes, let’s make the controls centered on the screen. To do this, we need to add 3 columns and put the controls in the center column.
Remember how elements automatically gets selected when they are added to the page? We want to prevent this from happening this time, and you can do this by providing the /more “refinement”. Any time you provide this, you are telling the app that you need to add more elements to the same parent. This allows you to quickly add a group of elements to a parent.
add col/more
add col/more
add col
We want to add the buttons in the middle column and so we select it by id.
get col2
Let’s add a button to Stop the video now.
add button
Let’s change the text.
add text Stop
This is an add command, not a set command, because we are adding an actual HTML element to the page (i.e. <span>) and not just setting an attribute or style.
Let’s add an icon. The names come from the Font Awesome class names.
add icon stop
Let’s add a Play button now.
get col2
add button
add text Play
add icon play
Those buttons are too close together so let’s move the Play button over a bit. Also, as you might notice, the button is still selected, even though we added a text and icon element to it. This is because those elements can’t have any children and so the parent stays selected.
set margin-left 10px
Let’s center those buttons too.
get col2
set text-align center
Let’s add the video.
get row1
add col
add video https://www.youtube.com/embed/cSp1dM2Vj48
Doh, wait, our controls are not hooked up yet! I really wanted to use this video for the demo, because then you would be forced to watch it, with no way of stopping it, for a while :D … but unfortunately YouTube does not allow you to play certain videos when a HTML page is launched from file:/// (which is important when we export), and so I had to choose a movie Trailer instead. They appear to have less restrictions in place. I still need to look into why.
Anyway, let’s hook up this player to some Rebol code!
get button1
set onclick ui-video-stop
get button2
set onclick ui-video-play
Now open the Code Editor, copy/paste the following functions and click Save.
ui-video-play: js-native [] {
    let video = document.querySelector('[data-type="video"]')
    video.contentWindow.postMessage('{"event": "command", "func": "playVideo", "args": ""}', '*')
}

ui-video-stop: js-native [] {
    let video = document.querySelector('[data-type="video"]')
    video.contentWindow.postMessage('{"event": "command", "func": "stopVideo", "args": ""}', '*')
}
Try it out. You can now stop and play the video. These functions are pretty simple and just run some JavaScript code to control the video, but they don’t have to be this way! You could use them to process some business logic in Rebol and then update the UI with your results.
Also, another alternative is we could provide a button that opens a list of 3rd party APIs. Do you need a full-featured video API for your app? Click here to download it into your local storage!
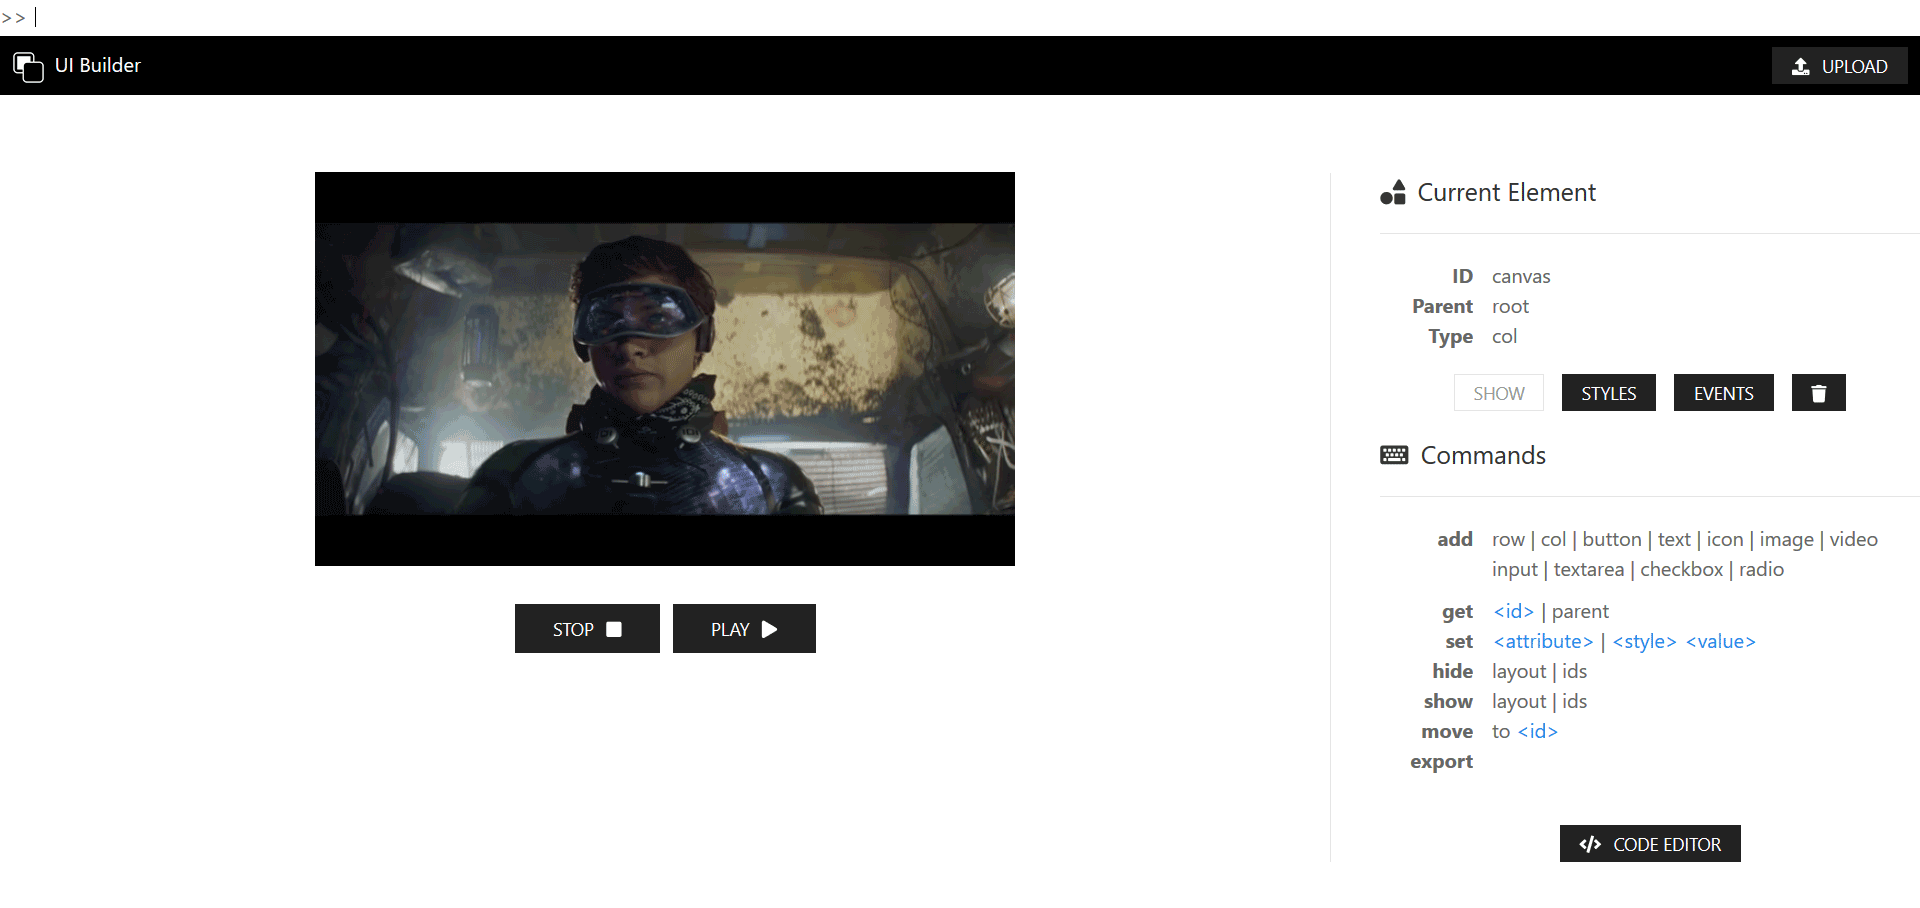
Okay, so now you have a working video player. Let’s hide those layout borders, and it should look something like this.
hide layout
Additionally, the app has commands for a few other things I didn’t cover. You can move elements around to different parents, hide/show the ids of all elements on the page (in case you’ve forgotten what they’re named), and the Styles and Events buttons open a sidebar that lets you manually update all the styles at once, or add event handling, for each element.
Hopefully you’ve made it this far, because now things get interesting …
The final command I will cover is export. It allows you to export your design into a HTML file that embeds the Rebol interpreter with no outside dependencies. None whatsoever, there is not even any external JavaScript files required. You can distribute your Rebol-powered app in a single HTML file!
Run the export command and save the file to your computer. Then double click it and the app will open in your browser and display the same as before, and the controls, which use Rebol code, will continue to work!